Audio waveform animations are a great way to make your audio that much more engaging. If you plan to post videos on social media, leaving a good first impression is crucial. Waveforms will help with that.
Follow along as I'll walk you through how to generate free waveform videos in a few steps. But first let's see what audio waveforms actually are.
What are audio waveform animations?
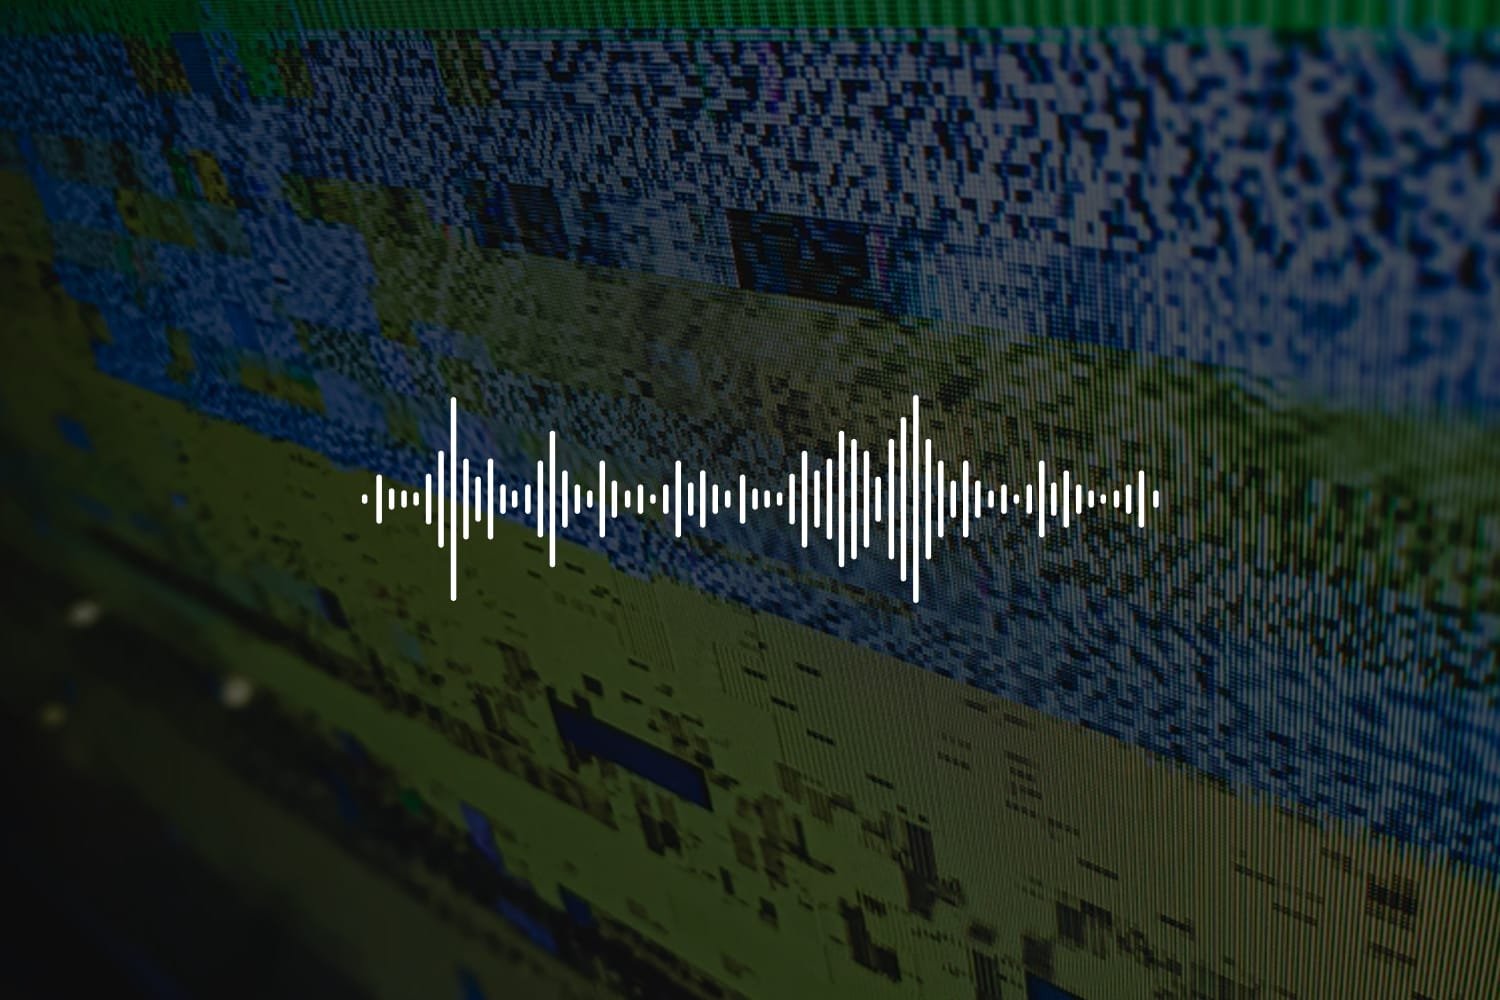
A waveform is a graph that visualizes the data of your audio. If the waveform animation is very low, the recording will be soft. So when the waveform is high, the sound is loud.
It is a time-based visualization of what is happening in your audio. For example, if the audio is speech, some areas within the waveform will be higher than in other areas. Other areas will lighten up when an instrument gets introduced.
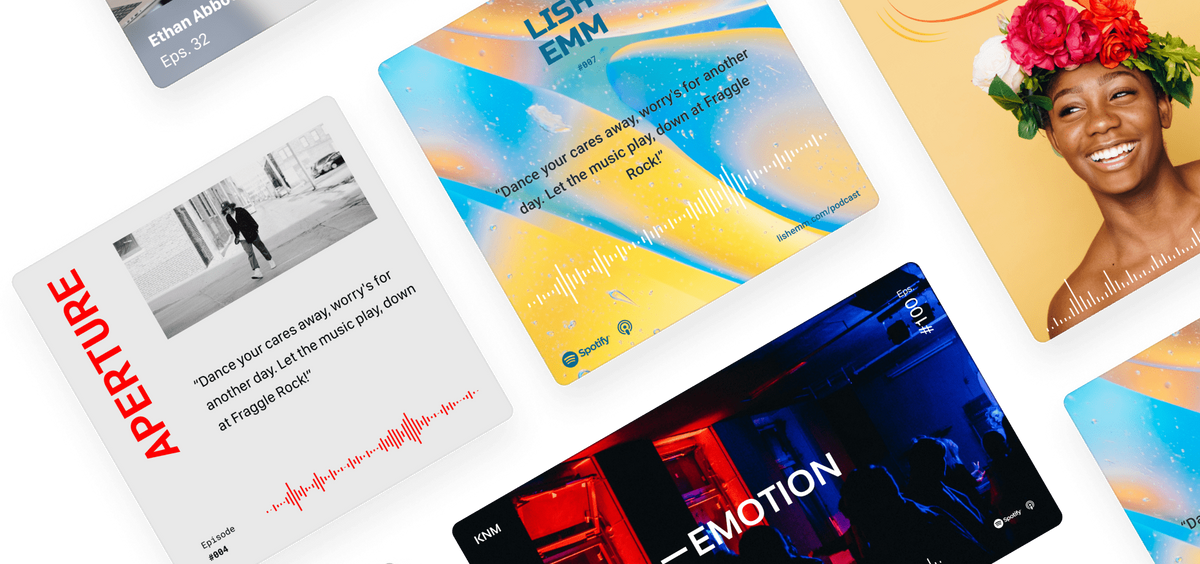
A picture says more than a thousand words. What better explanation than showing some examples?
Click on one of the examples below to start the video preview.

Keep in mind that there are multiple waveform animations to choose from and you can customize the appearance.
Why you should create them
Most social media platforms mute videos for people browsing their feeds. This is unfortunate for people who want to share valuable audio content with the world.
Videos generate 1200% more shares on social media than both images and text combined (source). But they do have to consist of actual moving elements instead of showing a static image for 5 minutes.
Audio waveforms in videos are a great way to engage people. Let them know that your message is more than a boring static image. It's perfect if you have audio content and want to make it more enticing on social media.
How do I generate an audio waveform?
I've created a tool called Vokal. Vokal allows you to generate great videos with waveform animations, subtitles, and more. Fun fact, you are actually already on the website!
Vokal is super easy to use. It is all based on templates. You can use and change existing templates or start from scratch. Add and remove elements from a template. When you're done, add your audio and the application will do the rest!
Enough jibber-jabber, let's get down to the nitty gritty.
1. Create a free account
The first and obvious step is to create a free account on Vokal. Create yours by clicking here.
You can create your account with a username and password combination. You can also use your Google or Facebook account. It is 100% safe to use your social media accounts as we do not store your data except your name and email address.
2. Make or customize a template
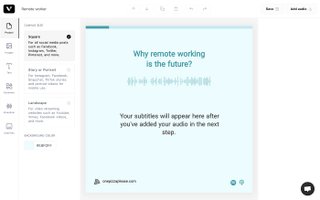
After you have created your account and logged in, you should see a list of templates as shown below.

As mentioned before, Vokal is super easy to use and all based on templates. There are no timelines or other complicated and unnecessary things. Click on one of the templates listed or start from scratch by clicking the blank template.
After selecting a template the application will redirect you to the editor. Here you can adjust, add or remove elements.
The left sidebar contains all the elements, including the audio waveform animations. Besides waveforms, you can also add time visualizers. These elements show how much time is left until the end of the video. You can add these elements the same way you would add waveforms. Apply the rules below if you want to add a time visualizer.
Go to the "Visualizer" tab and click on the "Waveforms" card. Select one of the listed waveform animations. Once selected, it should show up in your template which you can find in the center of your screen.
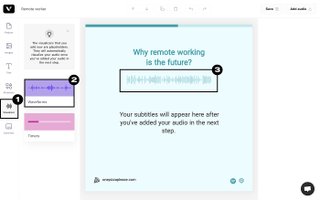
You can change the size of the waveform by dragging the corners. Don't like the position? Click and hold the waveform and drag it to another position. Change the color of your waveform in the right sidebar. Make sure you've clicked the waveform first to reveal the options in the left sidebar. I've demonstrated how to do these actions in the video shown below.
Keep in mind that the waveform is a placeholder for the actual one. You will be able to add your audio later on. The waveform will visualize your audio once added and you're ready to create your video.
Once you are happy with what you see, it is time to save your template. There are two options to save your template, both options are located in the top right corner. The "Save" option saves the template, but keeps you on the page. The second option "Add Audio" saves your template and takes you to the next step. Click on the second option if you are ready to move on.
3. Add your audio
You can select the audio file that is on your computer. Or use our podcast finder to select your episode. But this only works for podcasts. If your audio isn't a podcast, use the first option.
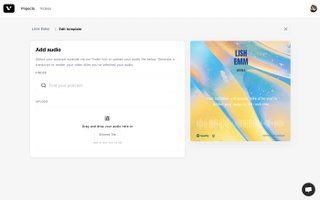
Once you selected your audio file you will see a different screen where you can trim your audio. The free plan has a time limit of 30 seconds. This means that need to select 30 seconds of your audio.
Trim your audio file by dragging your mouse over a part of the waveform. Change the part you want to cut out by clicking the highlighted area. Do this while dragging it horizontally.
Satisfied with your audio selection? Great, now it's time to either create your video with your waveform animation, by hitting the "Export Video" button. Or generate subtitles for your audio by hitting the "Add transcript" button at the bottom.
Don't forget to select the language of your transcription. The language selector is to the left of the "Add transcript" button. The language is standard in English.
4. Generate subtitles for your audio
Generating your transcription may take a while. It depends on the length and size of your audio file. Once done generating, a new page is shown where you can make any necessary adjustments to your text.
Change the transcription line by line by editing it in the text boxes.
Hit the play button to check if the sentences align with the actual audio. You can adjust the timing by changing the numbers to the left of each sentence. The first number is the starting time and the second one is the ending time.
You can split sentences by putting your cursor in the place where you want to split. And then click on the plus icon to make the action. Delete a line by clicking on the trash icon.
All good? Hit the "Export video" button at the bottom to let the system generate your waveform animation video!
5. Create your waveform video
Time to grab a snack or a cup of tea or coffee, creating your video takes a couple of minutes. No worries, the video gets created in the system, you are free to close the tab.
The system will notify you by email once your video is ready. When the video is ready you can download it to your computer and share it on all the social media platforms.